Driving Procedures
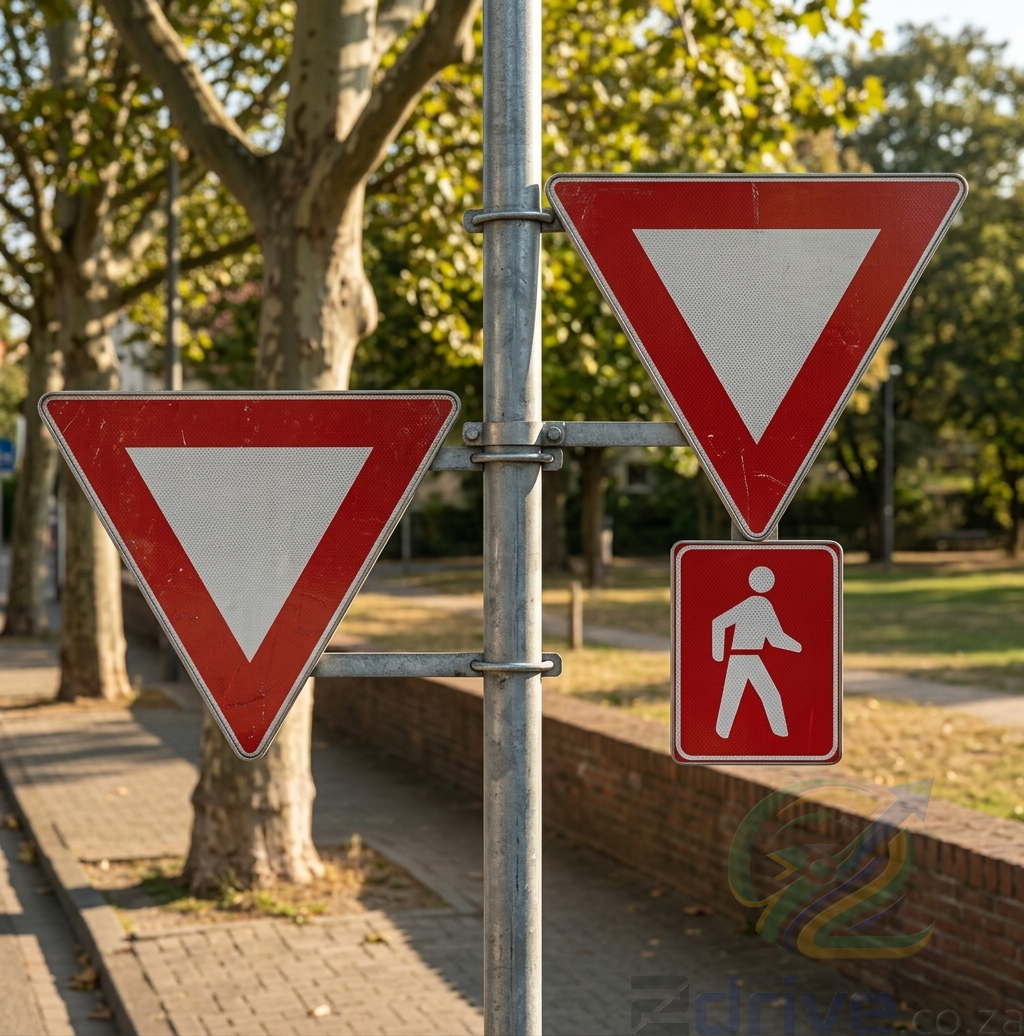
Intersections – Yield Signs
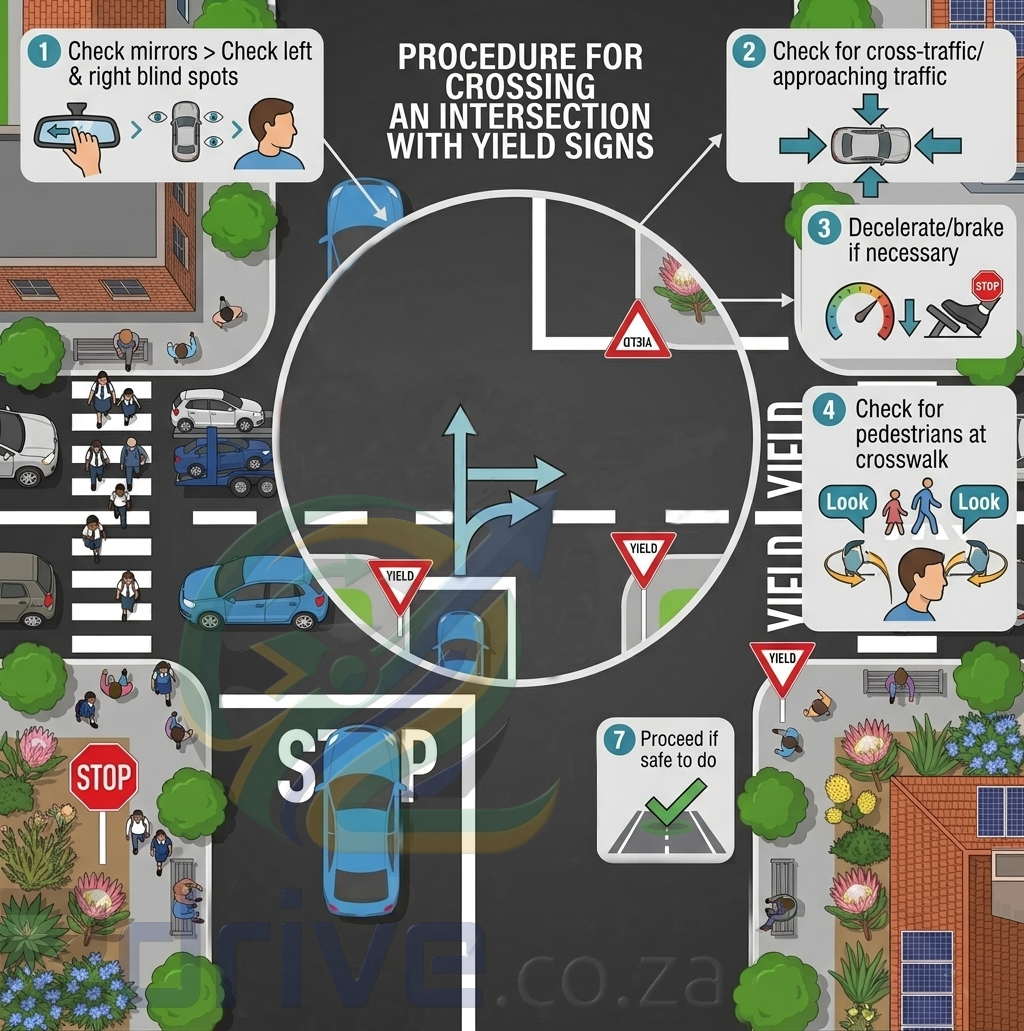
Approaching an intersection with a yield sign requires a high level of situational awareness.
Unlike a stop sign, you are not always required to come to a complete halt, but you must be prepared to give way to all cross-traffic, oncoming traffic, and pedestrians.
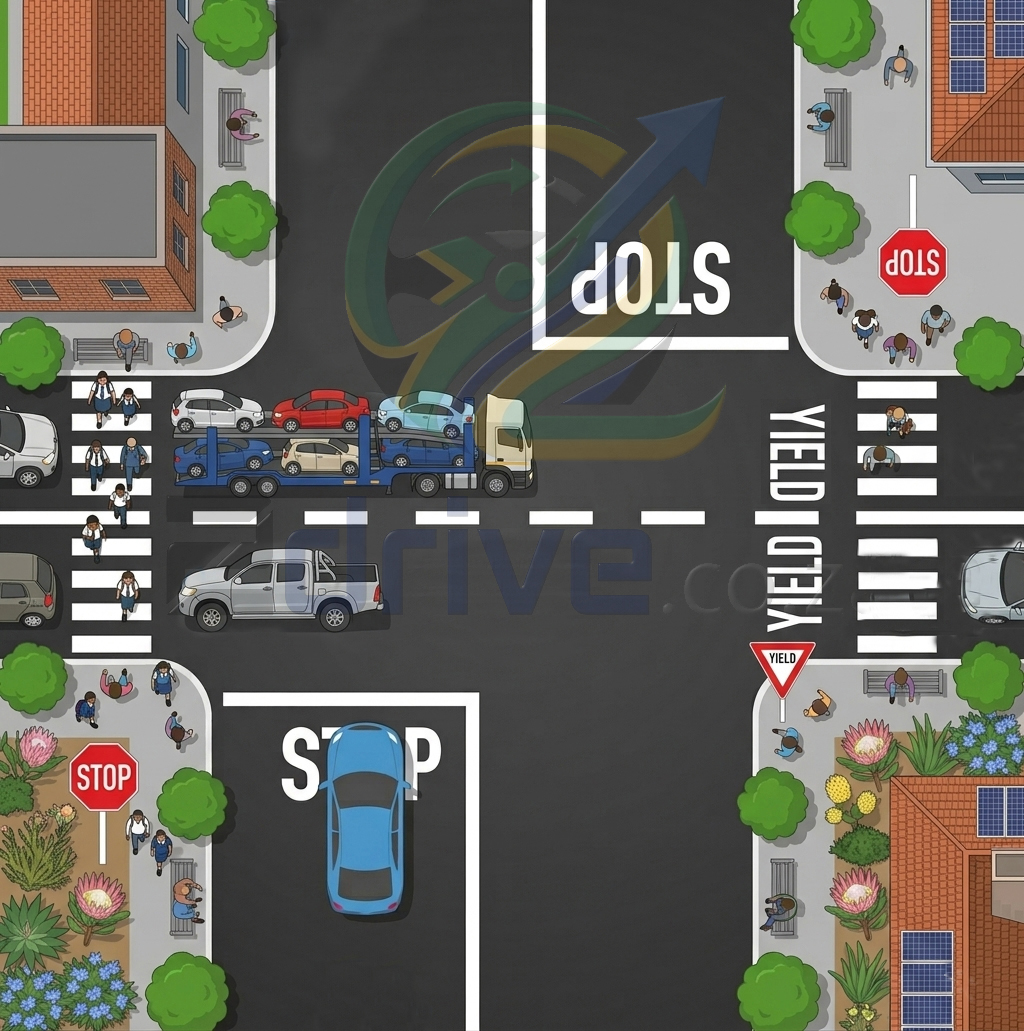
Phase 1: The Approach
Before you even reach the intersection, you need to assess your surroundings and control your speed.
1. Check the rearview mirror
Always check your mirrors early to understand the traffic situation behind you. This helps you determine how smoothly or quickly you need to slow down.
2. Scan the intersection
On approach, actively scan the environment. Look right, then left, then right again, and finally straight ahead. You are scanning for cross-traffic, oncoming vehicles turning into your path, and pedestrians crossing the road.
3. Decelerate/brake if necessary
Ease off the accelerator and apply the brakes smoothly to reduce your speed, allowing you more time to observe the intersection.
4. Select appropriate gear
Shift into a lower gear that matches your reduced speed. This ensures you maintain full control of the vehicle and can quickly accelerate if the intersection is clear.
Phase 2: Assess and Decide
Once you reach the yield line, you must decide whether it is safe to maintain momentum or if you need to stop.
5. Proceed if safe to do so
If the intersection is completely clear, there are no pedestrians, and you have a safe gap in traffic, you may smoothly proceed through without stopping.
6. If necessary, stop before the broken yield line
If there is oncoming traffic or pedestrians, you must come to a complete stop before the broken white yield line painted on the road surface to give way.
Phase 3: Securing the Vehicle (If Stopped)
If traffic required you to come to a stop, you must safely secure your vehicle while you wait for a safe gap.
7. Apply the parking brake
Once stationary, engage your handbrake (parking brake) to keep the vehicle secure and prevent rolling.
8. Select neutral (or 'P' if applicable)
Shift the gear lever into Neutral (or Park for automatic vehicles) to rest your feet and prevent accidental vehicle movement.
Phase 4: Moving Off Safely
When a safe gap in traffic opens up, follow these steps to clear the intersection.
9. Select an appropriate gear
Depress the clutch and select first gear (or shift back into Drive for an automatic).
10. Perform a 360-degree observation
Before moving, do a full safety check. Look ahead, check all mirrors, and check your blind spots to ensure no new hazards (like cyclists or pedestrians) have entered your path.
11. Release the parking brake
Once you confirm the environment is completely clear, release the handbrake.
12. Move off if safe to do so
Balance your clutch and accelerator smoothly to enter the intersection and safely continue your journey.