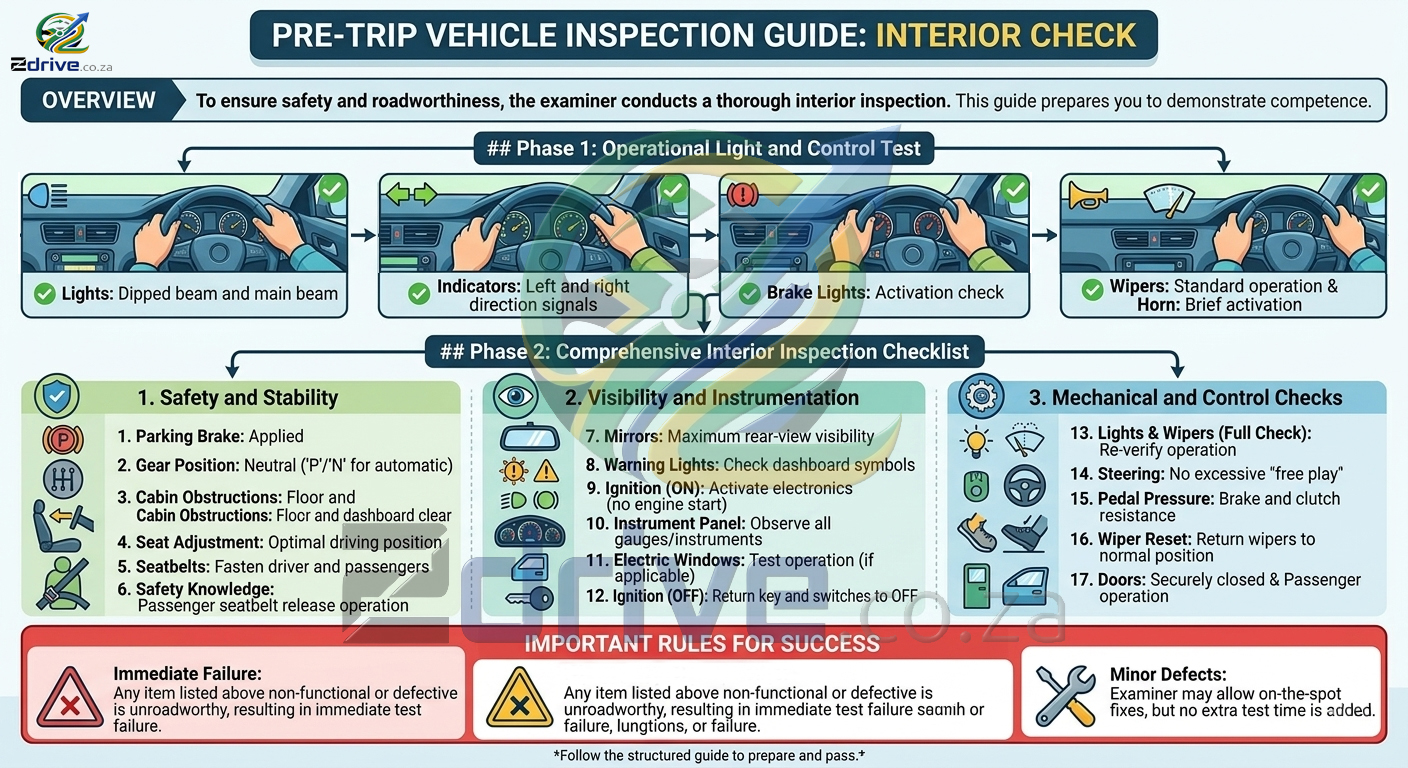
Pre-Trip Inspection Procedure - Interior
Pre Inspection
Before the driving test begins, the examiner will conduct a detailed interior inspection of the vehicle to ensure that it is safe, roadworthy, and ready for operation.
This inspection is designed to assess your:
It is important to carry out the inspection calmly, systematically, and confidently while clearly indicating each item being checked to the examiner.
Phase 1: Operational Light and Control Check
Before the formal interior inspection begins, the examiner may request that you sit in the driver's seat and operate specific controls to confirm that they are functioning correctly.
-
You may be asked to demonstrate the following:
- Dipped beam headlights
- Main beam headlights
Direction Indicators
- Left indicator
- Right indicator
Brake Lights
- Activation of the brake lights
Windscreen Wipers
- Normal operation of the wiper system
Horn
- Brief activation of the horn
Lighting Controls
Phase 2: Interior Inspection Checklist
Once the operational control checks have been completed, you must carry out a systematic inspection of the vehicle interior.
-
1. Safety and Vehicle Stability
- Neutral for manual vehicles, or
- "P" (Park) or "N" (Neutral) for automatic vehicles.
Interior Obstructions
Check that the:
- floor area,
- pedals,
- and dashboard
are free from loose objects or obstructions that could interfere with safe driving.
Driver's Seat Position
Adjust the driver's seat to a safe and comfortable driving position that allows proper control of:
- steering,
- pedals,
- and visibility.
Seatbelts
- Fasten your seatbelt correctly and ensure that all passengers are also wearing their seatbelts properly.
Passenger Safety Awareness
- Confirm that passengers understand how to operate and release their seatbelts if necessary.
2. Visibility and Instrument Panel Checks
Mirrors
- Adjust all mirrors correctly to provide maximum rear and side visibility.
Warning Lights
- Inspect the dashboard for any warning lights or fault indicators that may suggest a mechanical or safety issue.
Ignition ON Position
- Turn the ignition key to the "ON" position without starting the engine to activate the vehicle's electronic systems.
Instrument Cluster
- Observe the instrument panel and gauges carefully. Inform the examiner of any unusual readings or warning indications.
Electric Windows
- Test the operation of the electric windows where fitted.
Ignition OFF Position
- Return the ignition key to the "OFF" position and ensure that unnecessary electrical switches are switched off.
3.Mechanical and Control Checks
Lights, Indicators and Wipers
Reconfirm the correct operation of:
- front and rear lights,
- indicators,
- horn,
- and windscreen wipers.
Steering Check
- Check the steering wheel for excessive free play or looseness that may indicate a steering fault.
Brake and Clutch Pedals
Test the pressure and resistance of:
- the brake pedal,
- and clutch pedal (where applicable)
- to ensure proper operation.
Wiper Position
- Ensure that the windscreen wipers are returned to their normal resting position after testing.
Doors
Check that all doors are properly closed and securely latched. Passengers should also know how to open and close the doors safely.
Important Rules and Test Requirements
Immediate Failure Conditions
If any item inspected is found to be:
- defective,
- unsafe,
- or non-operational,
the vehicle may be declared unroadworthy, resulting in an immediate failure of the driving test.
Minor Defects
The examiner may allow certain minor defects to be corrected before the test continues. However:
- no additional time will be granted for these corrections,
- and the responsibility remains with the driver to ensure the vehicle is roadworthy before the test begins.
Parking Brake
Ensure that the parking brake is fully applied and securely engaged.
Gear Position
Confirm that the gear lever is in: